
 |
 |
 |
These instructions were written after-the-fact, so there are errors and omissions.
1. Initial setup (already done)
- First off, acquire an Raspberry Pi microprocessor (in this case donated by Dave Chapman with 4G RAM and micro SD memory).
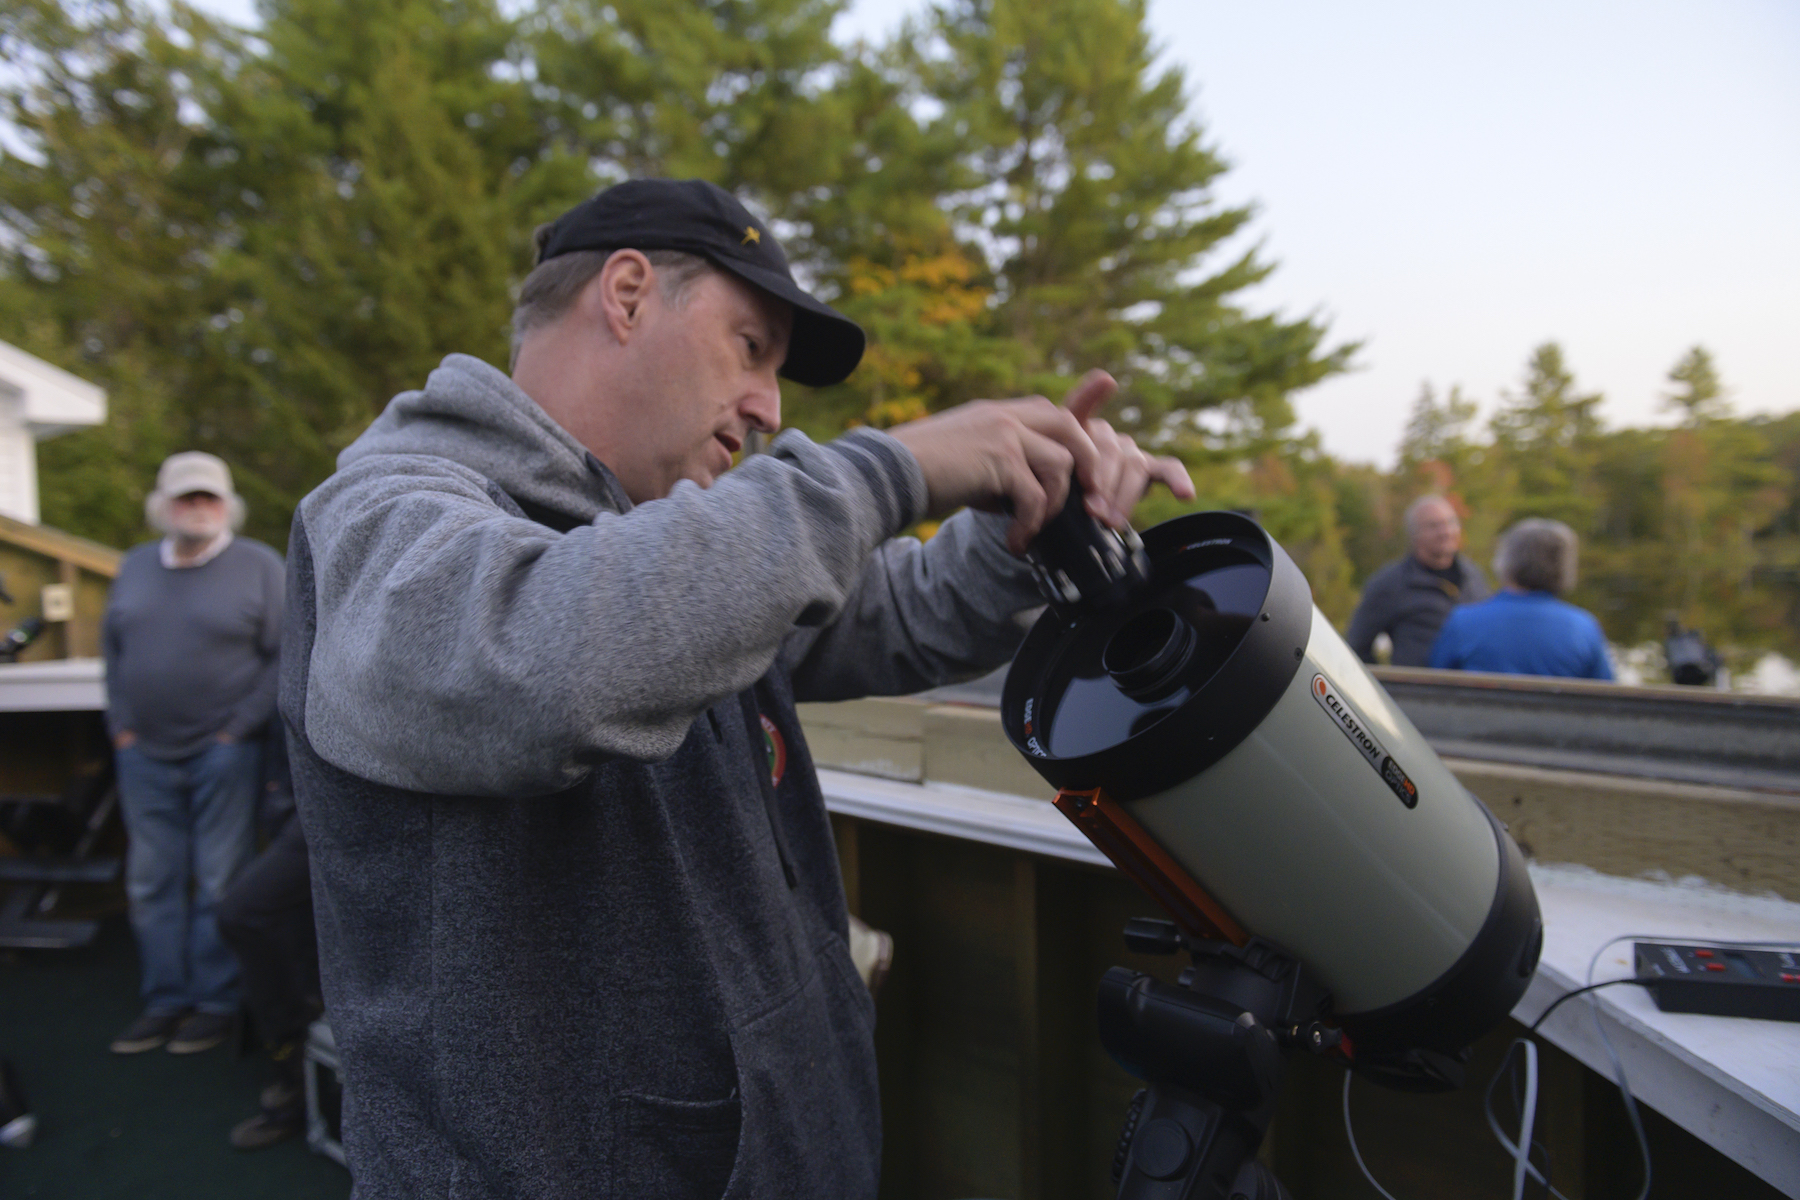
- Donated hardware by Jane and Alfred Howard: Celestron AUX, 8" Celestron Edge HD SCT, HyperStar, Atik 428ex 1931 x 1451 pixel colour CCD.
- Downloaded Rob Lancaste's excellent AstroPi3 installer script from GitHub - rlancaste/AstroPi3. This script automates the many setup steps involved with configuring a Raspberry Pi or similar single board computer (SBC) running Ubuntu or Raspbian, so that it can be an Astrophotography hub using INDI, KStars, and Ekos. Follow the instructions on that GitHub page to create a bootable microSD OS image and run this script to install the astronomy software.
sudo ./setupUbuntuSBC.shIn this case we chose the option to install the x11vnc VNC server, as well as creation of it's own automatic hot-spot when no known networks are found.
- After connecting the RPi to an HDMI display, attaching a keyboard, mouse and providing an ethernet cable link to the home router, power up the RPi.
- With the ethernet connection active, download NoMachine Remote Desktop software, the ARMv8 DEB installation and install that on the RPi. I chose this approach based on discussions on https://www.indilib.org/forum/recent.html. If you don't want to use this software, the AstroPi3 installer script will install alternatives (below).
- With NoMachine running as a Remote Desktop server disconnect the HDMI, keyboard and mouse and access the RPi via an installation of NoMachine (on the MacBook Pro) (a RPi reboot permitted the Remote Desktop to be reconfigured to a lower readable pixel density).
- When that is completed, launch KStars to complete the initialization of KStars and test it using the telescope simulators.
- Connect the physical telescope equipment to the RPi and create a new Profile in EKOS containing the matching drivers for each of your devices. In my case we are using Celestron AVX mount, Starizona microlight focuser, Atik 428ex camera.
- Download the Astrometry.net Index files (to allow StellarSolver to plate solve) via the Solver Options Index Files dialog. I chose to update files at the predefined Location: /home/odroid/.local/share/kstars/astrometry. There are check boxes that allow KStars to download these files for you. You don't need to download the most detailed (largest) indexes, depending on the Field of View of you scope/camera.
- Generate an Artificial Horizon polygon for the KStars desktop planetarium to provide a visual indicator of your unobstructed view.
- I our use case, there is no need to use Phd2 (included) for guiding and haven't a profile configured for this scenario.
- After noticing some warnings about missing locale during the software updates, I ran
to set up my locale for my language/country e.g. en_CA.UTF-8. (A reboot was required to have locale show the updated info)sudo dpkg-reconfigure locales sudo localectl set-locale LANG=en_CA.UTF-8
Installing Source code version of KStars
The 1st step is from https://github.com/KDE/kstars
A shell script to automate Installing Kstars/Indi from their git repositories
Link to repository gitea.nouspiro.space/nou/astro-soft-build
Before running this script uninstall INDI and KStars from repository.
Steps:
- Clone git repository git clone gitea.nouspiro.space/nou/astro-soft-build.git
- Enter cloned directory cd astro-soft-build
- Install dependencies by running ./install-dependencies.sh This need to be done only first time.
- If you are using QHY camera then run ./build-fxload.sh
- Run one of build-soft-stable.sh or build-soft-latest.sh
For general use run stable version. Use latest version if you want to test new bleeding edge feature in development.
Latest build sometimes fail because some breaking change in base indi and not every driver was updated. In this case try to wait day and try again.
If stable build fail try remove all build-* directories in $HOME/astro-soft or $HOME/astro-soft-stable
I update stable script when new stable version of INDI is released so to get latest version run
Enter astro-soft-build directory
Run git pull origin
Run one of build-soft-stable.sh or build-soft-latest.sh
Configure novnc SSL
raspberrypi@raspberrypi-desktop:~$ openssl req -x509 -nodes -newkey rsa:3072 -keyout novnc.pem -out novnc.pem -days 3650
-----
You are about to be asked to enter information that will be incorporated into your certificate request.
What you are about to enter is what is called a Distinguished Name or a DN.
There are quite a few fields but you can leave some blank
For some fields there will be a default value,
If you enter '.', the field will be left blank.
-----
Country Name (2 letter code):CA
State or Province Name (full name):Nova-Scotia
Locality Name (eg, city):Halifax
Organization Name (eg, company):RASC-Halifax
Organizational Unit Name (eg, section):
Common Name (e.g. server FQDN or YOUR name):SCO
Email Address:j******.com
# launch novnc
/usr/share/novnc/utils/launch.sh --cert /usr/share/novnc/novnc.pem --web /usr/share/novnc
# install novnc as a service
sudo --preserve-env bash -c 'cat > /lib/systemd/system/novnc.service' << EOF
[Unit]
Description=Start novnc at startup.
After=multi-user.target
[Service]
Type=simple
ExecStart=/usr/share/novnc/utils/launch.sh --cert /usr/share/novnc/novnc.pem --web /usr/share/novnc
[Install]
WantedBy=multi-user.target
EOF
######################
# This enables the Service so it runs at startup
sudo systemctl enable novnc.service
sudo systemctl daemon-reload
# launch vnc server
sudo /usr/bin/x11vnc -auth guess -forever -loop -noxdamage -repeat -rfbauth /etc/x11vnc.pass -rfbport 5900 -shared
# install x11vnc as a service
# Note: RealVNC does not work on non-Raspberry Pi ARM systems as far as I can tell.
# This will install x11vnc instead
sudo apt -y install x11vnc
# This will get the password for VNC
x11vnc -storepasswd /etc/x11vnc.pass
# This will store the service file.
######################
sudo --preserve-env bash -c 'cat > /lib/systemd/system/x11vnc.service' << EOF
[Unit]
Description=Start x11vnc at startup.
After=multi-user.target
[Service]
Type=simple
ExecStart=/usr/bin/x11vnc -auth guess -forever -loop -noxdamage -repeat -rfbauth /etc/x11vnc.pass -rfbport 5900 -shared
[Install]
WantedBy=multi-user.target
EOF
######################
# This enables the Service so it runs at startup
sudo systemctl enable x11vnc.service
sudo systemctl daemon-reload
Alternative build method for KStars
These 3 line are meant to install Kstars, not update it
sudo apt-add-repository ppa:mutlaqja/ppa
sudo apt-get update
sudo apt-get install indi-full kstars-bleeding
To update the software, you need these 2 lines
sudo apt update
sudo apt upgrade
The "upgrade" line is meant to update the softwares.
Auto start Kstars and EKOS
Created the indiwebmanager.service by opening http://localhost:8624/ in Firefox on the RPi4 and creating a new profile "SCO-AVX+HyperStar+Atik"
by choosing the Atik CCD, Celestron Advanced VX HC and Microtouch Drivers
using the default Port 7624 and configured to Auto Start and Auto Connect.
Add a Real Time Clock to the RPi4
# These commands were used to add a Real Time Clock to Ubuntu 22.04
#   taken from https://forums.raspberrypi.com/viewtopic.php?t=330201#p1977333
# this script can't be executed directly as there are 2 sections to insert into files
# that are not structured to be run as a command.
sudo apt-get update
sudo apt-get upgrade
sudo apt-get install i2c-tools
sudo i2cdetect -y 1
sudo modprobe rtc-ds1307
sudo bash
echo ds1307 0x68 > /sys/class/i2c-adapter/i2c-1/new_device
exit
sudo hwclock -r
sudo hwclock -w
cd /etc/modules-load.d
sudo pluma modules.conf
#This loads the rtc-1307 module
rtc-1307

cd /etc/
sudo pluma rtc
#!/bin/bash
#this is the script to be executed at boot to create the rtc interface
echo 'ds1307 0x68' | sudo tee /sys/class/i2c-adapter/i2c-1/new_device
sudo hwclock -s
# end of rtc text

cd /etc/systemd/system/
sudo pluma rtc.service
#this calls the rtc script at boot to create the rtc interface new_device
[Unit]
Description=RTC Clock
Before=cloud-init-local.service
Requires=systemd-modules-load.service
After=systemd-modules-load.service
[Type]
Type=oneshot
[Service]
ExecStart=/etc/rtc
[Install]
WantedBy=multi-user.target
# end of rtc.service text

sudo systemctl start rtc.service
sudo systemctl enable rtc.service
Accessing the Artifical Horizon in the KStars sqlite database
These coordinates may require updating if the Terrain file image isn't positioned correctly.
sqlite3 .local/share/kstars/userdb.sqlite

sqlite> select * from horizons;
13|horizon_1|SCO West Center Roll-off CCW|1

sqlite> select * from horizon_1;
-0.0958333333333333|22.5608333333333
-7.92111111111111|23.3038888888889
-13.2838888888889|23.5680555555556
-19.4327777777778|24.775
-22.1513888888889|23.0875
-27.4005555555556|31.8605555555556
-34.0227777777778|33.8641666666667
-49.5269444444444|45.2625
298.359444444444|51.6066666666667
277.503055555556|57.1925
254.253055555556|59.5002777777778
235.958333333333|49.7238888888889
219.855|35.0622222222222
211.282777777778|21.5702777777778
205.600555555556|7.94694444444445
184.772777777778|6.21722222222222
181.291111111111|8.29861111111111
179.356388888889|7.26277777777778
177.683888888889|7.12277777777778
175.858333333333|9.04361111111111
174.081944444444|6.93361111111111
170.736111111111|6.70277777777778
166.951111111111|15.5255555555556
163.669166666667|24.5066666666667
156.811666666667|30.5088888888889
151.062222222222|27.9708333333333
149.516388888889|31.3222222222222
146.241666666667|31.6872222222222
144.333888888889|31.2233333333333
139.644166666667|33.1291666666667
136.503055555556|32.3230555555556
133.603333333333|30.0044444444444
131.430277777778|29.9838888888889
127.025555555556|31.3586111111111
122.888333333333|30.8063888888889
120.358888888889|28.0533333333333
118.203611111111|26.6527777777778
113.683333333333|26.5269444444444
110.674444444444|24.1822222222222
108.907777777778|22.1594444444444
107.8|19.9252777777778
108.223333333333|17.4375
107.648055555556|15.8952777777778
104.388611111111|17.3608333333333
101.380555555556|18.9427777777778
97.0894444444444|16.8161111111111
92.5125|14.6036111111111
85.4952777777778|15.1936111111111
84.1752777777778|19.9119444444444
82.6422222222222|20.7652777777778
80.3138888888889|18.1133333333333
77.8136111111111|14.6597222222222
74.7958333333333|13.9613888888889
72.0033333333333|10.1702777777778
71.0330555555555|6.62
67.7575|6.8475
67.4472222222222|9.37972222222222
65.3041666666667|14.8713888888889
63.5613888888889|19.4727777777778
61.4622222222222|27.1841666666667
58.1011111111111|32.5408333333333
54.5325|34.7338888888889
48.9633333333333|33.5580555555556
43.6833333333333|31.8691666666667
40.9144444444444|28.2777777777778
37.0825|27.9969444444444
33.5697222222222|26.7033333333333
30.4205555555556|23.8216666666667
27.3869444444444|24.2419444444444
23.4933333333333|23.0233333333333
21.2377777777778|19.8744444444444
17.4761111111111|19.9152777777778
13.5852777777778|20.0461111111111
10.9786111111111|21.3797222222222
9.01111111111111|23.1786111111111
6.27222222222222|23.2033333333333
4.94138888888889|21.9013888888889
2.31222222222222|22.0205555555556
0.48|22.4783333333333

# to load the
PRAGMA foreign_keys=OFF;
BEGIN TRANSACTION;
CREATE TABLE horizons ( id INTEGER DEFAULT NULL PRIMARY KEY AUTOINCREMENT, name TEXT NOT NULL,label TEXT NOT NULL,enabled INTEGER NOT NULL);
INSERT INTO horizons VALUES(13,'horizon_1','SCO West Center Roll-off CCW',1);
COMMIT;

PRAGMA foreign_keys=OFF;
BEGIN TRANSACTION;
CREATE TABLE horizon_1 (Az REAL NOT NULL, Alt REAL NOT NULL);
INSERT INTO horizon_1 VALUES(-0.095833333333333325932,22.560833333333334849);
INSERT INTO horizon_1 VALUES(-7.9211111111111112137,23.303888888888888431);
INSERT INTO horizon_1 VALUES(-13.283888888888888857,23.568055555555556424);
INSERT INTO horizon_1 VALUES(-19.432777777777779704,24.774999999999998579);
INSERT INTO horizon_1 VALUES(-22.151388888888888573,23.087499999999998579);
INSERT INTO horizon_1 VALUES(-27.400555555555552445,31.86055555555555685);
INSERT INTO horizon_1 VALUES(-34.022777777777776009,33.864166666666669414);
INSERT INTO horizon_1 VALUES(-49.526944444444445992,45.262500000000002842);
INSERT INTO horizon_1 VALUES(298.35944444444447754,51.60666666666666913);
INSERT INTO horizon_1 VALUES(277.50305555555553383,57.192499999999995453);
INSERT INTO horizon_1 VALUES(254.25305555555556225,59.500277777777775157);
INSERT INTO horizon_1 VALUES(235.95833333333331439,49.723888888888893689);
INSERT INTO horizon_1 VALUES(219.85499999999998977,35.062222222222217738);
INSERT INTO horizon_1 VALUES(211.28277777777779534,21.570277777777778994);
INSERT INTO horizon_1 VALUES(205.60055555555555884,7.9469444444444450326);
INSERT INTO horizon_1 VALUES(184.77277777777780443,6.2172222222222224275);
INSERT INTO horizon_1 VALUES(181.29111111111112109,8.2986111111111107164);
INSERT INTO horizon_1 VALUES(179.35638888888888687,7.2627777777777779988);
INSERT INTO horizon_1 VALUES(177.68388888888890165,7.1227777777777774304);
INSERT INTO horizon_1 VALUES(175.85833333333332007,9.0436111111111117111);
INSERT INTO horizon_1 VALUES(174.08194444444444571,6.9336111111111113914);
INSERT INTO horizon_1 VALUES(170.73611111111108585,6.7027777777777783896);
INSERT INTO horizon_1 VALUES(166.95111111111108926,15.525555555555555998);
INSERT INTO horizon_1 VALUES(163.66916666666665492,24.506666666666667709);
INSERT INTO horizon_1 VALUES(156.81166666666666742,30.508888888888890278);
INSERT INTO horizon_1 VALUES(151.06222222222223195,27.970833333333331439);
INSERT INTO horizon_1 VALUES(149.51638888888888346,31.322222222222222854);
INSERT INTO horizon_1 VALUES(146.24166666666664582,31.687222222222221291);
INSERT INTO horizon_1 VALUES(144.33388888888890733,31.223333333333332718);
INSERT INTO horizon_1 VALUES(139.64416666666664923,33.129166666666669983);
INSERT INTO horizon_1 VALUES(136.50305555555556225,32.323055555555555429);
INSERT INTO horizon_1 VALUES(133.60333333333332462,30.004444444444445139);
INSERT INTO horizon_1 VALUES(131.43027777777777487,29.983888888888888147);
INSERT INTO horizon_1 VALUES(127.025555555555556,31.35861111111111299);
INSERT INTO horizon_1 VALUES(122.88833333333333542,30.80638888888888971);
INSERT INTO horizon_1 VALUES(120.35888888888888459,28.053333333333334565);
INSERT INTO horizon_1 VALUES(118.20361111111111541,26.652777777777775015);
INSERT INTO horizon_1 VALUES(113.68333333333333712,26.526944444444442439);
INSERT INTO horizon_1 VALUES(110.67444444444444684,24.182222222222222285);
INSERT INTO horizon_1 VALUES(108.90777777777778113,22.159444444444442723);
INSERT INTO horizon_1 VALUES(107.79999999999999716,19.92527777777777942);
INSERT INTO horizon_1 VALUES(108.22333333333332916,17.4375);
INSERT INTO horizon_1 VALUES(107.64805555555555827,15.895277777777776507);
INSERT INTO horizon_1 VALUES(104.38861111111111768,17.36083333333333556);
INSERT INTO horizon_1 VALUES(101.38055555555554577,18.942777777777777715);
INSERT INTO horizon_1 VALUES(97.089444444444438886,16.816111111111112564);
INSERT INTO horizon_1 VALUES(92.512500000000002842,14.603611111111110432);
INSERT INTO horizon_1 VALUES(85.495277777777772599,15.193611111111112066);
INSERT INTO horizon_1 VALUES(84.17527777777777942,19.911944444444444002);
INSERT INTO horizon_1 VALUES(82.642222222222230243,20.765277777777779278);
INSERT INTO horizon_1 VALUES(80.313888888888882889,18.113333333333333286);
INSERT INTO horizon_1 VALUES(77.813611111111114838,14.659722222222223209);
INSERT INTO horizon_1 VALUES(74.795833333333334281,13.961388888888887294);
INSERT INTO horizon_1 VALUES(72.003333333333330302,10.170277777777776862);
INSERT INTO horizon_1 VALUES(71.033055555555549176,6.6200000000000001066);
INSERT INTO horizon_1 VALUES(67.757499999999993179,6.8475000000000001421);
INSERT INTO horizon_1 VALUES(67.447222222222222854,9.3797222222222220722);
INSERT INTO horizon_1 VALUES(65.304166666666660035,14.871388888888889213);
INSERT INTO horizon_1 VALUES(63.561388888888885162,19.472777777777775299);
INSERT INTO horizon_1 VALUES(61.462222222222223422,27.184166666666666146);
INSERT INTO horizon_1 VALUES(58.101111111111109153,32.540833333333331723);
INSERT INTO horizon_1 VALUES(54.532499999999998863,34.733888888888891699);
INSERT INTO horizon_1 VALUES(48.96333333333333826,33.558055555555554861);
INSERT INTO horizon_1 VALUES(43.683333333333330017,31.869166666666668419);
INSERT INTO horizon_1 VALUES(40.914444444444441729,28.277777777777778567);
INSERT INTO horizon_1 VALUES(37.082500000000003126,27.996944444444444855);
INSERT INTO horizon_1 VALUES(33.569722222222225128,26.703333333333333144);
INSERT INTO horizon_1 VALUES(30.420555555555555571,23.821666666666665435);
INSERT INTO horizon_1 VALUES(27.386944444444445423,24.24194444444444585);
INSERT INTO horizon_1 VALUES(23.493333333333335844,23.023333333333333428);
INSERT INTO horizon_1 VALUES(21.23777777777777942,19.874444444444446134);
INSERT INTO horizon_1 VALUES(17.476111111111109153,19.915277777777777857);
INSERT INTO horizon_1 VALUES(13.585277777777777786,20.04611111111111299);
INSERT INTO horizon_1 VALUES(10.978611111111110432,21.379722222222223849);
INSERT INTO horizon_1 VALUES(9.0111111111111110716,23.178611111111113274);
INSERT INTO horizon_1 VALUES(6.2722222222222221433,23.203333333333333144);
INSERT INTO horizon_1 VALUES(4.9413888888888894968,21.901388888888888573);
INSERT INTO horizon_1 VALUES(2.3122222222222221788,22.02055555555555344);
INSERT INTO horizon_1 VALUES(0.47999999999999998224,22.478333333333331723);
COMMIT;
2. Reference Manuals
Celestron C8 Manual
Celestron Edge HD Instruction Manual.pdf
Hyperstar 4 on a Celestron C8 Manual
HyperStar_4_C8_GEM_Instructions.pdf
Atik 428ex Manual
https://atikcameras.wpenginepowered.com/wp-content/uploads/2015/07/AtikSeries4Manual.pdf